
Icom IC-M504A Инструкция по эксплуатации онлайн
Содержание
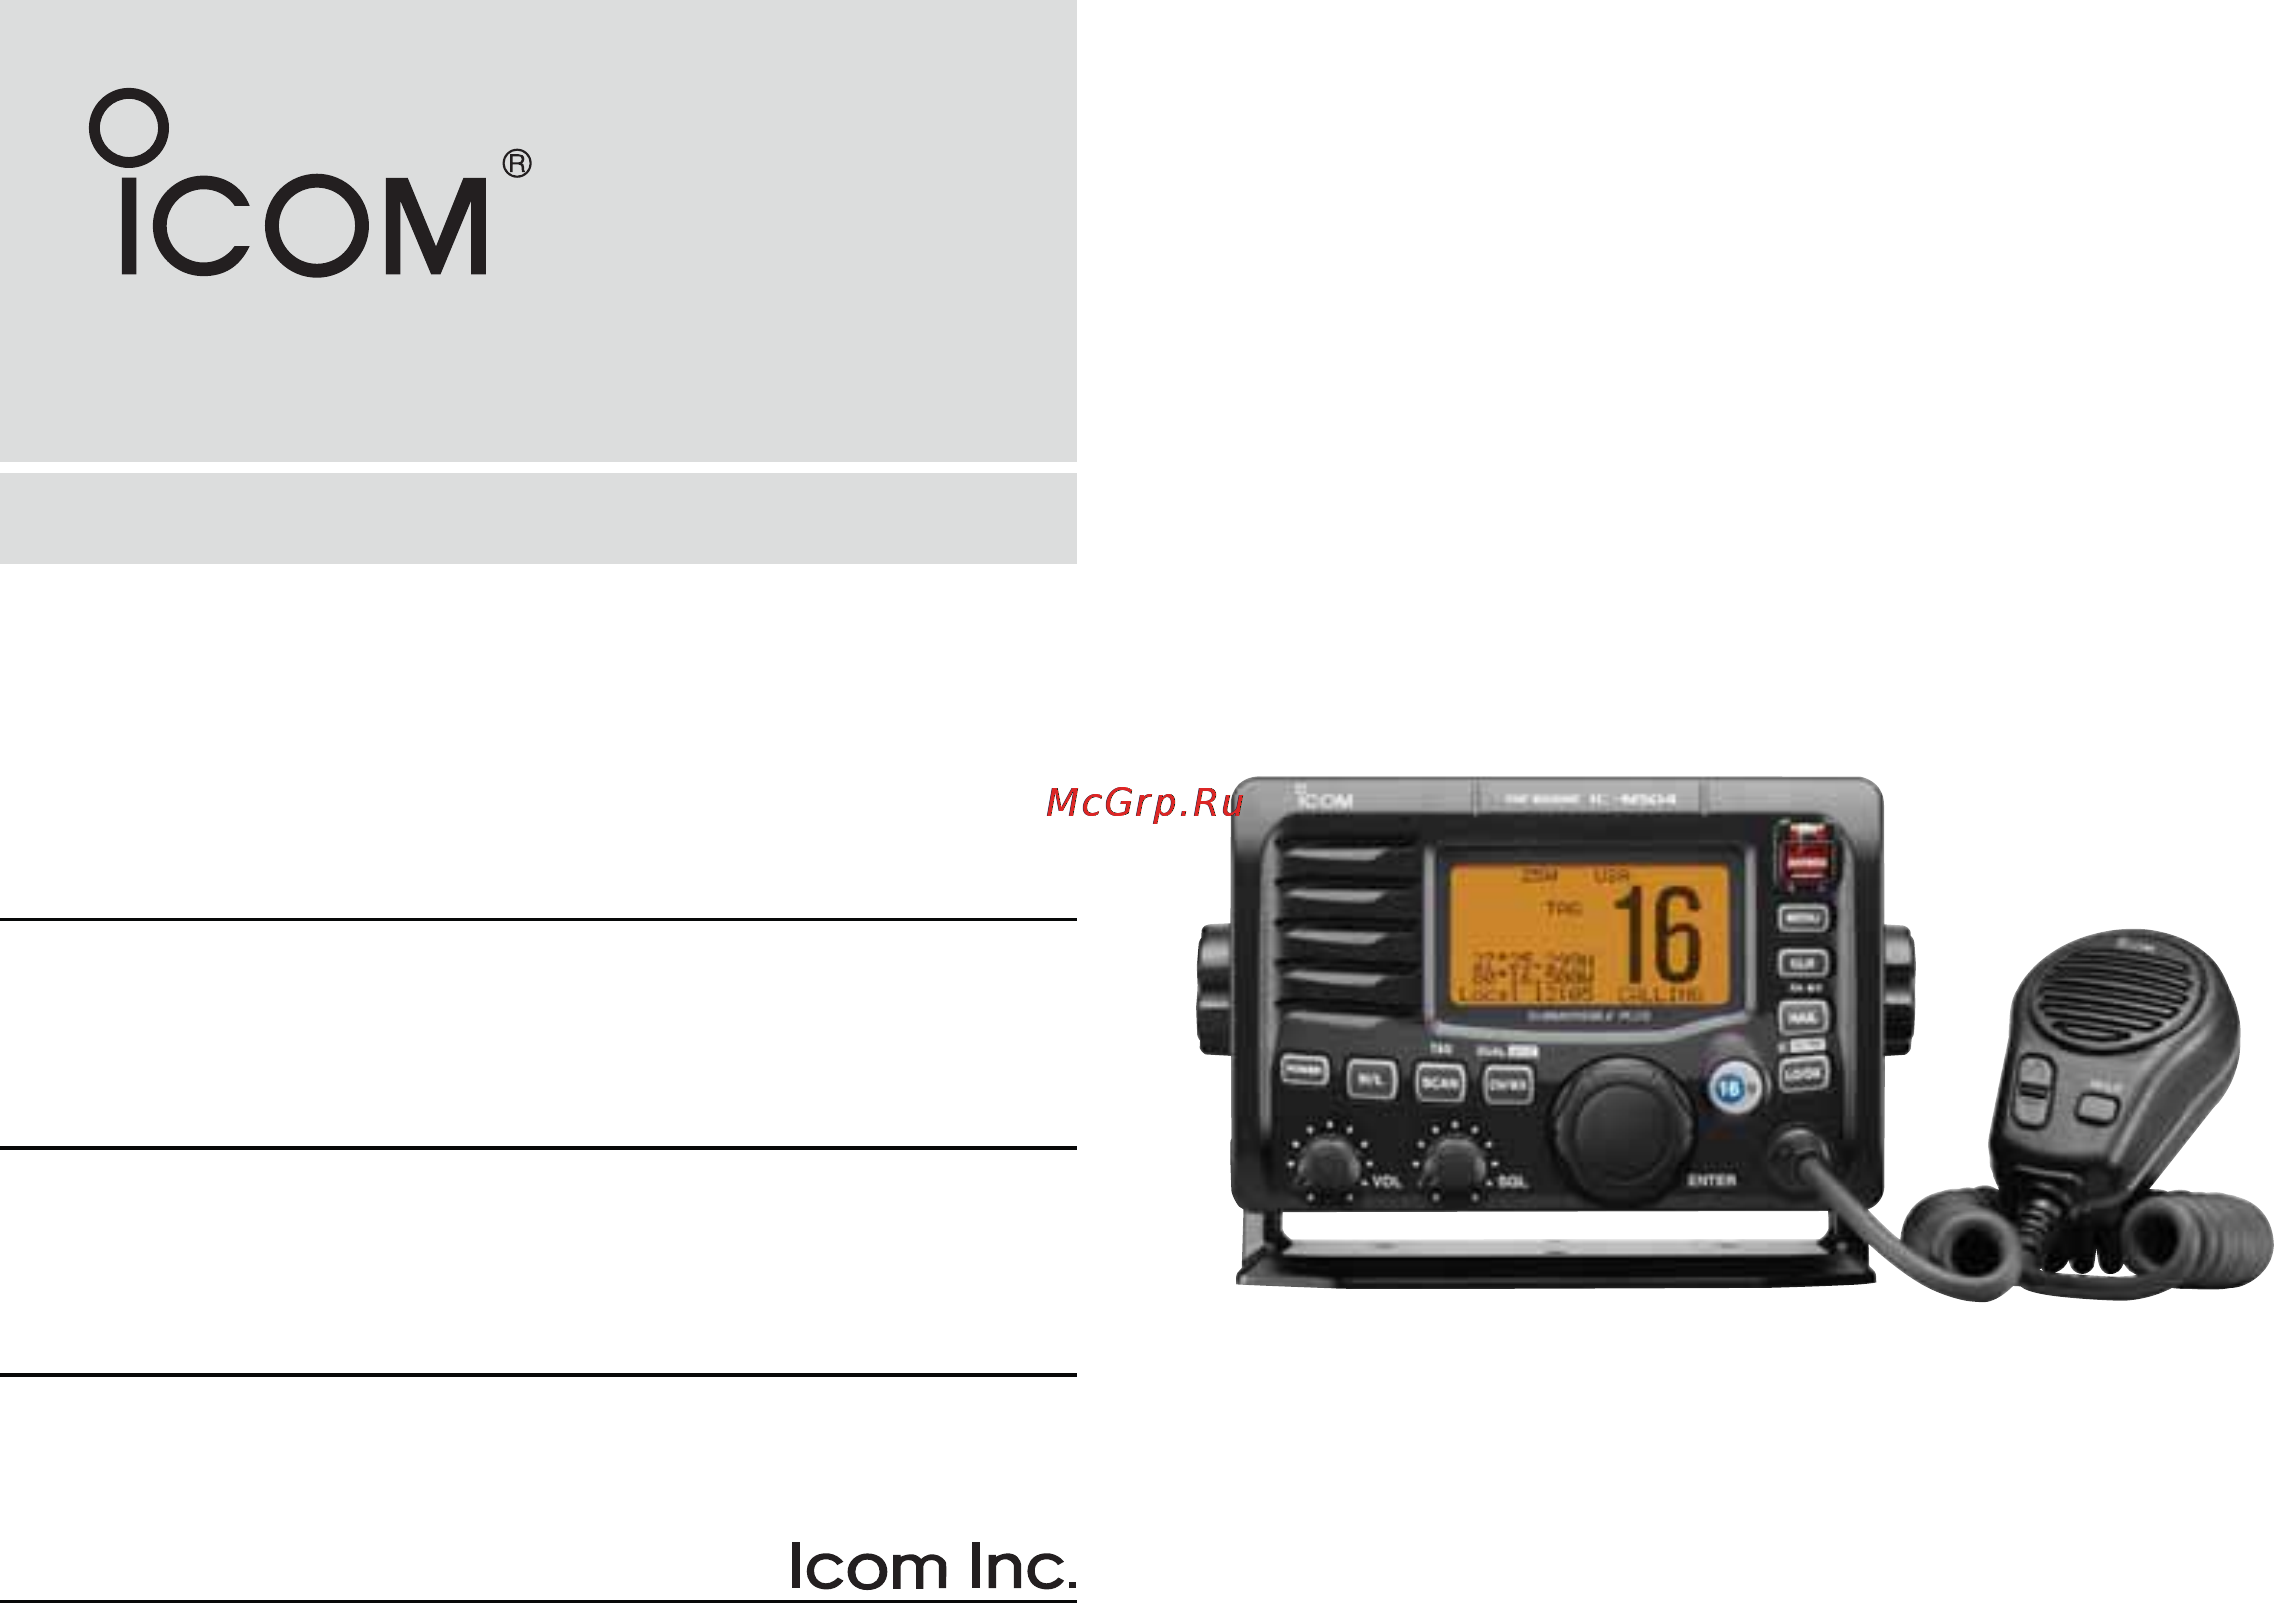
- Im504a 1
- Built in dsc meets itu class d requirement 2
- D features 2
- Easy to hear speaker 2
- Easy to make individual dsc calls using icom s ma 500tr class b ais transponder 2
- Explicit definitions 2
- Foreword 2
- Important 2
- Optional commandmicii hm 157 and commandmiciii hm 162 are available 2
- Read all instruction 2
- Rugged waterproof construction 2
- Save this instruction manual 2
- Simple operation with large keys 2
- Distress call procedure 3
- In case of emergency 3
- Using channel 16 distress call procedure 3
- Using digital selective calling 3
- Radio operator warning 4
- 2 3 4 5 6 7 8 9 10 11 12 13 14 15 16 5
- Table of contents 5
- Be careful 6
- Caution 6
- Caution neve 6
- Precautions 6
- R warning neve 6
- 2 3 4 5 6 7 8 9 10 11 12 13 14 15 16 7
- D priorities 7
- D privacy 7
- D radio licenses 7
- Operating rules 7
- Front panel 8
- Panel description 8
- 2 3 4 5 6 7 8 9 10 11 12 13 14 15 16 9
- Panel description 9
- 34 34 06n 123 23 36w local 1 10 calling 10
- Busy 25w int call 10
- Function display 10
- Loc rx dup 10
- Normal scan 10
- Panel description 10
- Scram tag 10
- 2 3 4 5 6 7 8 9 10 11 12 13 14 15 16 11
- Panel description 11
- Speaker microphone 11
- Basic operation 12
- Channel selection 12
- D channel 16 12
- D channel 9 call channel 12
- 2 3 4 5 6 7 8 9 10 11 12 13 14 15 16 13
- Basic operation 13
- D weather channels 13
- U s a international and canadian channels 13
- Basic operation 14
- Receiving and transmitting 14
- 2 3 4 5 6 7 8 9 10 11 12 13 14 15 16 15
- Basic operation 15
- Call channel programming 15
- Channel comments 15
- Basic operation 16
- Display backlight 16
- Microphone lock function 16
- 2 3 4 5 6 7 8 9 10 11 12 13 14 15 16 17
- Basic operation 17
- D activating the scrambler 17
- D programming scrambler codes 17
- Optional voice scrambler operation 17
- Scan operation 18
- Scan types 18
- 2 3 4 5 6 7 8 9 10 11 12 13 14 15 16 19
- Scan operation 19
- Setting tag channels 19
- Starting a scan 19
- Description 20
- Dualwatch tri watch 20
- Operation 20
- 2 3 4 5 6 7 8 9 10 11 12 13 14 15 16 21
- Dsc operation 21
- Mmsi code programming 21
- A total of 100 dsc address ids can be programmed and named with up to 10 characters 22
- D deleting individual id 22
- D programming individual id 22
- Dsc address id 22
- Dsc operation 22
- E push to delete the selected individual id and return to the dsc set up menu r push clr or rotate dial to select exit then push to return to the dsc menu 22
- In the dsc set up menu 22
- Q enter 22
- R push clr or rotate dial to select exit then push to return to the dsc menu 22
- The first digit is specified as 0 for a group id the first two digits are 0 for any coast station id 22
- The individual id and id name 22
- W rotate dial 22
- W rotate dial to select the desired id name to delete 22
- 2 3 4 5 6 7 8 9 10 11 12 13 14 15 16 23
- D deleting group id 23
- D programming group id 23
- Dsc operation 23
- E after inputting the id name push to pro gram r push clr or rotate dial to select exit then push to return to the dsc menu 23
- E push to delete the selected group id and return to the dsc set up menu r push clr or rotate dial to select exit then push to return to the dsc menu 23
- In the dsc set up menu 23
- Q enter 23
- The first digit is specified as 0 for a group id the first two digits are 0 for any coast station id 23
- The group id and id name 23
- W rotate dial 23
- W rotate dial to select the desired id name to delete 23
- A distress call should include the ship s position and time data if no gps is connected your position and utc univer sal time coordinated time should be manually input they are automatically included when a gps receiver nmea0183 ver 2 or 3 1 is connected 24
- Dsc operation 24
- E after editing the position data push to pro gram rotate dial to edit the current utc time then push 24
- Nmea0183 ver 2 or 3 1 is connected only 23 hours 24
- Position and time programming 24
- Q enter position input in the dsc menu 24
- R push clr or rotate dial to select exit then push to returns to the dsc menu 24
- W edit your position latitude and longitude data by rotating dial 24
- 2 3 4 5 6 7 8 9 10 11 12 13 14 15 16 25
- Dsc operation 25
- Gps information display 25
- Position and time indication 25
- D simple call 26
- Distress call 26
- Dsc operation 26
- Never use the distress call when your ship or a person is not in an emergency a distress call can be used only when immediate help is needed 26
- 2 3 4 5 6 7 8 9 10 11 12 13 14 15 16 27
- D regular call 27
- Dsc operation 27
- After 2 seconds 28
- Distress call d regular call continued 28
- Dsc operation 28
- E edit your position latitude and longitude data by rotating dial 28
- R after editing the position data push to pro gram edit the current utc time by rotating dial then push 28
- T hold down distress for 5 seconds to transmit the dis tress call 28
- Y after transmitting the distress call the transceiver waits for an acknowledgment call 28
- 2 3 4 5 6 7 8 9 10 11 12 13 14 15 16 29
- D transmitting an individual call 29
- Dsc operation 29
- Transmitting dsc calls 29
- Dsc operation 30
- 2 3 4 5 6 7 8 9 10 11 12 13 14 15 16 31
- D transmitting an individual acknowledgement 31
- Dsc operation 31
- D transmitting a group call 32
- Dsc operation 32
- 2 3 4 5 6 7 8 9 10 11 12 13 14 15 16 33
- About manual inputting rotate dial 33
- Dsc operation 33
- E rotate dial to select a desired intership channel then push 33
- R push to transmit the group call 33
- T after the group call has been transmitted the following message is displayed 33
- The 8 digit group id then push 33
- Y push clr to exit and the transceiver automatically se lects the intership channel specified in step e 33
- D transmitting an all ships call 34
- Dsc operation 34
- 2 3 4 5 6 7 8 9 10 11 12 13 14 15 16 35
- D transmitting a position request call 35
- Dsc operation 35
- E push to transmit the position request call 35
- Q enter position request in the dsc menu 35
- R after the position request call has been transmitted the following message is displayed 35
- T push clr to return to the previous screen before you entered the dsc menu 35
- Transmit a position request call when you want to know a specific ship s current position etc 35
- W rotate dial to select the desired pre programmed individual address or manual input then push 35
- D transmitting a position report call 36
- Dsc operation 36
- 2 3 4 5 6 7 8 9 10 11 12 13 14 15 16 37
- D transmitting a polling request call 37
- Dsc operation 37
- E push to transmit the polling request call 37
- Q enter polling request in the dsc menu 37
- R after the polling request call has been transmitted the following message is displayed 37
- T push clr to return to the previous screen before you entered the dsc menu 37
- Transmit a polling request call when you want to know a specific vessel is in the communication area or not 37
- W rotate dial to select the desired pre programmed individual address or manual input then push 37
- D transmitting a position reply call 38
- Dsc operation 38
- 2 3 4 5 6 7 8 9 10 11 12 13 14 15 16 39
- D transmitting a polling reply call 39
- D transmitting a position report reply call 39
- Dsc operation 39
- E push to transmit the polling reply call to the selected station 39
- E push to transmit the position report reply call to the selected station 39
- Q enter polling reply in the dsc menu 39
- Q enter pos report reply in the dsc menu 39
- Transmit a polling reply call when a polling request call is received 39
- Transmit a position report reply call when a position report call is received 39
- W rotate dial to select the desired individual address or id code then push 39
- D test call 40
- Dsc operation 40
- E push to transmit the test call 40
- Q enter test call in the dsc menu 40
- R after the test call has been transmitted the display auto matically returns to the previous screen before you en tered the dsc menu 40
- Testing on the exclusive dsc distress and safety calling channels should be avoided as much as possible when test ing on the distress safety channel is unavoidable you should indicate that these are test transmissions normally the test call would require no further communica tions between the two stations involved 40
- W rotate dial to select the desired pre programmed individual address or manual input then push 40
- 2 3 4 5 6 7 8 9 10 11 12 13 14 15 16 41
- D receiving a distress call 41
- D transmitting a test ack call 41
- Dsc operation 41
- Receiving dsc calls 41
- D receiving a distress acknowledgement 42
- D receiving a distress relay call 42
- Dsc operation 42
- 2 3 4 5 6 7 8 9 10 11 12 13 14 15 16 43
- D receiving a distress relay acknowledgement 43
- D receiving an individual call 43
- Dsc operation 43
- D receiving a group call 44
- D receiving an all ships call 44
- Dsc operation 44
- 2 3 4 5 6 7 8 9 10 11 12 13 14 15 16 45
- D receiving a geographical area call 45
- D receiving a position request call 45
- Dsc operation 45
- D receiving a polling request call 46
- D receiving a position reply call 46
- D receiving a position report call 46
- Dsc operation 46
- 2 3 4 5 6 7 8 9 10 11 12 13 14 15 16 47
- D receiving a polling reply call 47
- D receiving a position report reply call 47
- Dsc operation 47
- D receiving a test acknowledgement call 48
- D receiving a test call 48
- Dsc operation 48
- 2 3 4 5 6 7 8 9 10 11 12 13 14 15 16 49
- D distress message 49
- Dsc operation 49
- Received messages 49
- D add individual id group i 50
- D delete individual id group i 50
- D offset time 50
- D other messages 50
- Dsc operation 50
- Dsc set up menu 50
- 2 3 4 5 6 7 8 9 10 11 12 13 14 15 16 51
- D automatic acknowledgement 51
- D mmsi code check 51
- Dsc operation 51
- D auto switch function 52
- D nmea output 52
- Dsc operation 52
- 2 3 4 5 6 7 8 9 10 11 12 13 14 15 16 53
- Auto switch off on 53
- Auto tune 53
- D auto tune timer 53
- Dsc operation 53
- E push to set and exit the setting 53
- Off turns off the auto tune timer 53
- Q enter auto tune in the dsc set up menu 53
- The action of the transceiver may differ depending on the combination of the auto switch function and the auto tune timer settings as listed below 53
- This is the amount of time after receiving a distress call before the transceiver switches to channel 16 53
- W rotate dial to turn the auto tune timer on or off on after receiving a distress call the transceiver remains on the operating channel for 10 seconds and then automatically switches to channel 16 within 10 seconds the following action can be taken 53
- As described on page 62 54
- Connect an optional 54
- E hold down for 1 second to sound the intercom beep 54
- Hm 157 listener 54
- Hm 162 listener 54
- Ic m504a caller 54
- Ic m504a hm 162 hm 157 54
- Intercom operation 54
- Other functions 54
- Q push power to turn on the power 54
- R hold down ptt and speak into the microphone at a nor mal voice level 54
- T after releasing ptt you can hear the response through the speaker 54
- The optional intercom function allows you to talk to the deck from the cabin the optional command microphone is re quired for intercom operation 54
- W hold down for 1 second to enter the intercom mode 54
- 2 3 4 5 6 7 8 9 10 11 12 13 14 15 16 55
- Other functions 55
- Rx speaker function 55
- Hailer operation 56
- Other functions 56
- 2 3 4 5 6 7 8 9 10 11 12 13 14 15 16 57
- Automatic foghorn function 57
- Other functions 57
- Other functions 58
- 2 3 4 5 6 7 8 9 10 11 12 13 14 15 16 59
- Set mode 59
- Set mode items 59
- Set mode programming 59
- A noaa broadcast station transmits a weather alert tone be fore important weather information when on is selected the previously selected used weather channel is checked any time during standby or while scanning when on with wx scan is selected the weather channels are sequen tially checked during standby or while scanning wx alert blinks until the transceiver is operated after the transceiver detects the alert 60
- D automatic foghorn frequency 60
- D beep tone 60
- D dual tri watch 60
- D lcd contrast 60
- D weather alert 60
- Default 400 60
- Default 5 60
- Default dualwatch 60
- Default off 60
- Default on 60
- Set mode 60
- Set mode items continued 60
- The audio frequency of the automatic foghorn can be ad justed to suit your preference while this item is selected holding down ptt sounds the foghorn experiment with the selectable frequencies until you find one you like 60
- This item adjusts the contrast of the lcd in 8 steps the level 1 is the lowest contrast and the level 8 is the high est contrast 60
- This item can be selected as dualwatch or tri watch p 14 60
- You can select silent operation by turning beep tones off or you can have confirmation beeps sound at the push of a key by turning beep tones on 60
- 2 3 4 5 6 7 8 9 10 11 12 13 14 15 16 61
- Appears when a scrambler unit is installed the scrambler code can be set depending on dealer setting 32 codes 1 to 32 can be selected for ut 112 default 1 128 codes 0 to 127 can be selected for ut 98 default 0 61
- Appears when a scrambler unit is installed when an optional scrambler unit is installed the scrambler type can be selected depending on dealer setting 61
- Appears when an optional command microphone is con nected this item sets the radio power function on or off on the transceiver s power is controlled by the optional command microphone when the command micro phone is turned off the transceiver is automatically turned off off 61
- D radio power 61
- D remote id 61
- D scrambler code 61
- D scrambler type 61
- Set a remote id number to between 01 and 69 the id is included in the sentence of the format for the icom original nmea 61
- Set mode 61
- Connections 62
- Connections and maintenance 62
- 2 3 4 5 6 7 8 9 10 11 12 13 14 15 16 63
- Connections and maintenance 63
- D connect to the ma 500tr 63
- A key element in the performance of any communication sys tem is the antenna ask your dealer about antennas and the best place to mount them 64
- Antenna 64
- Cleaning 64
- Connections and maintenance 64
- Do not use harsh solvents such as benzine or alcohol as they will damage transceiver surfaces 64
- Fuse replacement 64
- If the transceiver becomes dusty or dirty wipe it clean with a soft dry cloth 64
- One fuse is installed in the supplied dc power cable if a fuse blows or the transceiver stops functioning track down the source of the problem if possible and replace the damaged fuse with a new one of the proper rating 64
- Supplied accessories 64
- 2 3 4 5 6 7 8 9 10 11 12 13 14 15 16 65
- Connections and maintenance 65
- D using the supplied mounting bracket 65
- Mounting the transceiver 65
- Connections and maintenance 66
- Mb 75 installation 66
- 2 3 4 5 6 7 8 9 10 11 12 13 14 15 16 67
- Connections and maintenance 67
- Ut 112 ut 98 installation 67
- Connections and maintenance 68
- Microphone installation 68
- 2 3 4 5 6 7 8 9 10 11 12 13 14 15 16 69
- Connections and maintenance 69
- Connections and maintenance 70
- 2 3 4 5 6 7 8 9 10 11 12 13 14 15 16 71
- Connections and maintenance 71
- D hm 126 hm 157 71
- Connections and maintenance 72
- D hm 162 72
- 2 3 4 5 6 7 8 9 10 11 12 13 14 15 16 73
- Troubleshooting 73
- D dimensions 74
- D general 74
- D receiver 74
- D transmitter 74
- Specifications and options 74
- Specifications 74
- 2 3 4 5 6 7 8 9 10 11 12 13 14 15 16 75
- Options 75
- Specifications and options 75
- Channel list 76
- Dsc operation only 76
- Low power only 76
- Momentary high power 76
- Note simplex channels 3 21 23 61 64 81 82 and 83 cannot be lawfully used by the general public in u s a waters 76
- 2 3 4 5 6 7 8 9 10 11 12 13 14 15 16 77
- Hm 126 hm 157 hm 162 77
- Template 77
- 2 3 4 5 6 7 8 9 10 11 12 13 14 15 16 79
- Fcc information 79
- 1 32 kamiminami hirano ku osaka 547 0003 japan 80
Похожие устройства
- Эван C7.5 Инструкция по эксплуатации
- Iiyama ProLite PLT2250MTS-B1 Инструкция по эксплуатации
- Icom IC-M604 Инструкция по эксплуатации
- Эван C9 Инструкция по эксплуатации
- Samsung S23B350H Инструкция по эксплуатации
- Icom IC-M604A Инструкция по эксплуатации
- Эван C12 Инструкция по эксплуатации
- Icom IC-M802 Инструкция по эксплуатации
- Iiyama ProLite PLT2451MTS-B1 Инструкция по эксплуатации
- Эван C15 Инструкция по эксплуатации
- Icom IC-M90 Инструкция по эксплуатации
- Acer V275HLbid Инструкция по эксплуатации
- Эван C18 Инструкция по эксплуатации
- Icom MA-500TR Инструкция по эксплуатации
- Iiyama ProLite PLX2775HDS-B1 Инструкция по эксплуатации
- Эван C24 Инструкция по эксплуатации
- Icom MR-570R Инструкция по эксплуатации
- Iiyama ProLite PLG2773HS-GB1 Инструкция по эксплуатации
- Эван C30 Инструкция по эксплуатации
- Icom MXA-5000 Инструкция по эксплуатации