
Icom IC-M506 Инструкция по эксплуатации онлайн
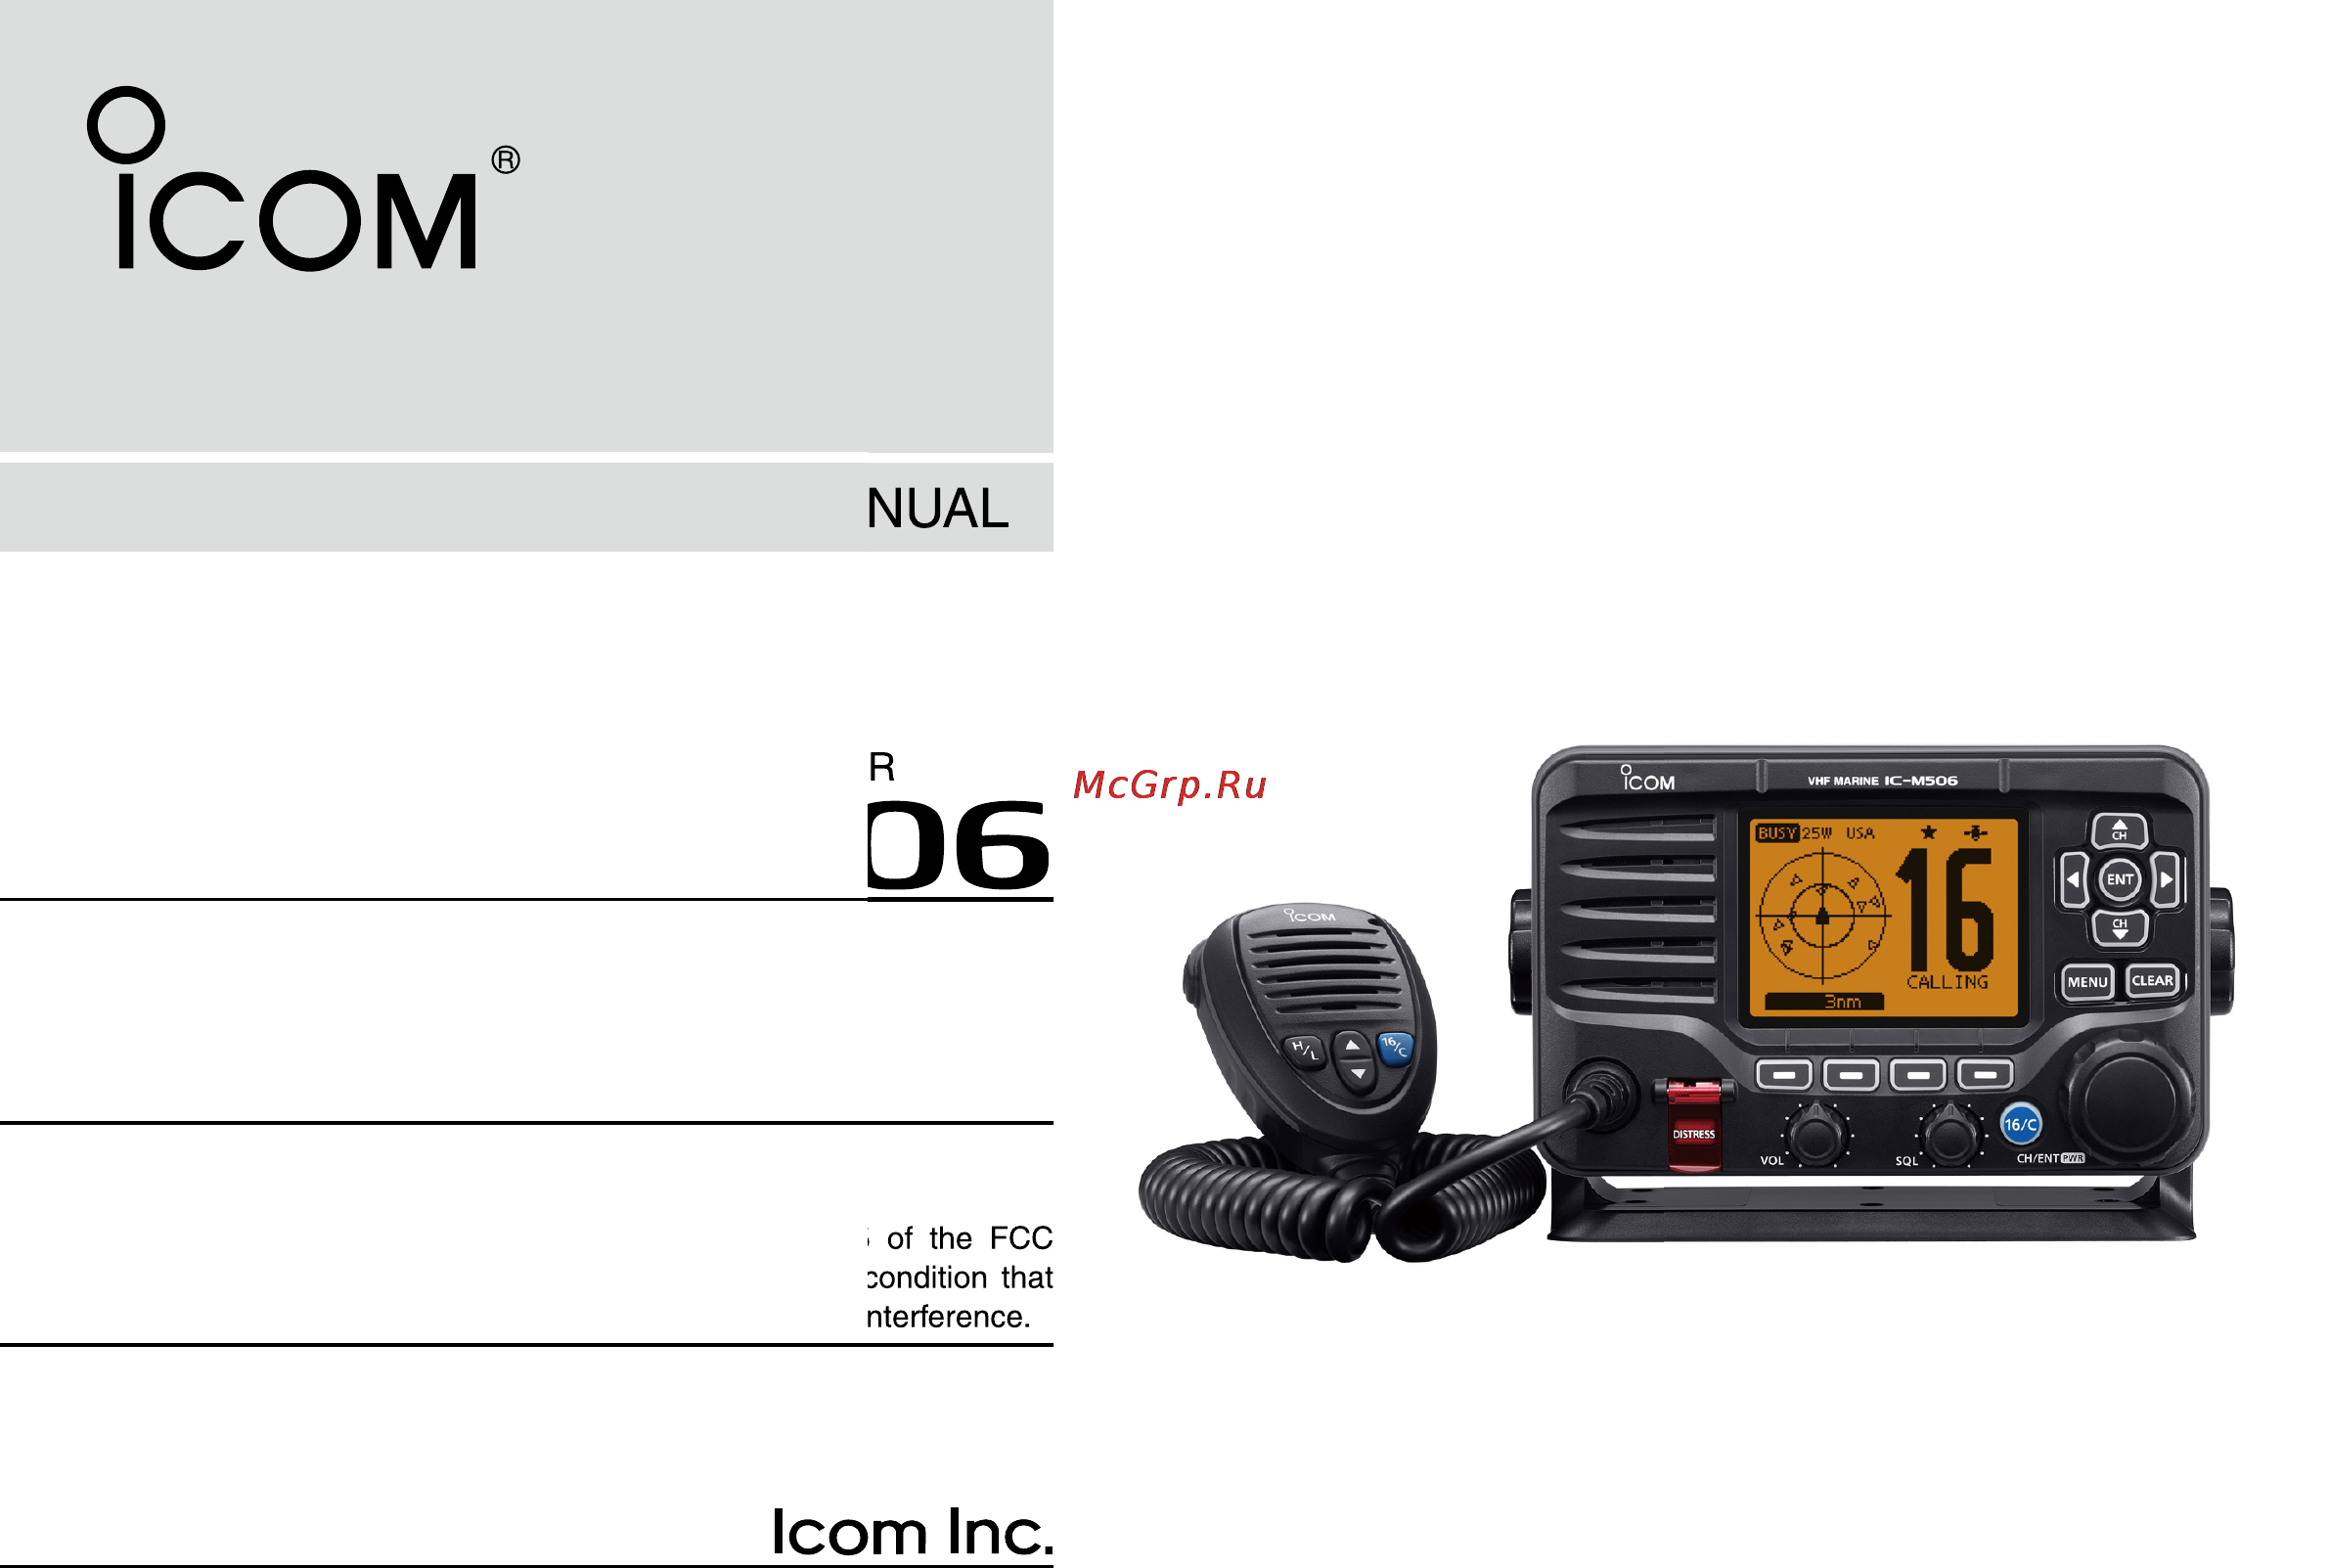
INSTRUCTION MANUAL
iM506
VHF MARINE TRANSCEIVER
This device complies with Part 15 of the FCC
Rules. Operation is subject to the condition that
this device does not cause harmful interference.
INSTRUCTION MANUAL
iM506
VHF MARINE TRANSCEIVER
This device complies with Part 15 of the FCC
Rules. Operation is subject to the condition that
this device does not cause harmful interference.
Содержание
- Instruction manual 1
- Vhf marine transceiver 1
- 2 minutes last call voice recording superb active noise cancelling 2
- Explicit definitions 2
- Features d integrated ais receiver 2
- Foreword 2
- Important 2
- Nmea 2000 connectivity 2
- Read all instruction 2
- Save this instruction manual 2
- In case of emergency 3
- Radio operator warning 4
- 2 3 4 5 6 7 8 9 10 11 12 13 14 15 16 5
- Avertissement pour les opérateurs radio 5
- Fcc information 6
- Be careful 7
- Caution neve 7
- Precautions 7
- R warning neve 7
- Table of contents 8
- 2 3 4 5 6 7 8 9 10 11 12 13 14 15 16 9
- Table of contents 9
- D priorities 10
- Operating rules 10
- Privacy d 10
- Radio licenses d 10
- 2 3 4 5 6 7 8 9 10 11 12 13 14 15 16 11
- Front panel 11
- Panel description 11
- Panel description 12
- 2 3 4 5 6 7 8 9 10 11 12 13 14 15 16 13
- Panel description 13
- Function display 14
- Panel description 14
- 2 3 4 5 6 7 8 9 10 11 12 13 14 15 16 15
- Panel description 15
- Panel description 16
- Softkey function selection d 16
- Speaker microphone softkey function 16
- 2 3 4 5 6 7 8 9 10 11 12 13 14 15 16 17
- Mmsi code programming 17
- Preparation 17
- Basic operation 18
- Call channel d 18
- Channel 16 d 18
- Channel selection 18
- 2 3 4 5 6 7 8 9 10 11 12 13 14 15 16 19
- Basic operation 19
- Channel group selection d 19
- Basic operation 20
- D weather channels 20
- Receiving and transmitting 20
- 3 4 5 6 7 8 9 10 11 12 13 14 15 16 21
- Basic operation 21
- Basic operation 22
- Call channel programming 22
- Channel name programming 22
- 2 3 4 5 6 7 8 9 10 11 12 13 14 15 16 23
- Basic operation 23
- Microphone lock function 23
- Adjusting the display back light level 24
- Aquaquake water draining function 24
- Basic operation 24
- 2 3 4 5 6 7 8 9 10 11 12 13 14 15 16 25
- Scan operation 25
- Scan types 25
- Scan operation 26
- Setting favorite channels 26
- Starting a scan 26
- 2 3 4 5 6 7 8 9 10 11 12 13 14 15 16 27
- Description 27
- Dualwatch tri watch 27
- Operation 27
- Dsc address id 28
- Dsc operation 28
- Programming individual id d 28
- 2 3 4 5 6 7 8 9 10 11 12 13 14 15 16 29
- After entering the id name select finish using dial or u y z ω then push ent or dial to program it 29
- D programming group id 29
- Dsc operation 29
- E enter a desired group id in the following way 29
- Enter group id in the dsc settings menu q 29
- I push menu to exit the menu screen 29
- New2001 29
- Push add w 29
- Repeat step e to input the specific 9 digits group code 29
- T after entering the 9 digit code push ent or dial to set it 29
- The first digit is fixed as 0 for a group id the first two digits are 0 for any coast station id 29
- D deleting individual group id 30
- Dsc operation 30
- E push ok to delete the id and return to the individual id or group id list screen 30
- New2001 30
- Q enter individual id or group id in the dsc set tings menu 30
- R push menu to exit the menu screen 30
- W rotate dial or push y z to select a desired id name then push del 30
- 2 3 4 5 6 7 8 9 10 11 12 13 14 15 16 31
- Dsc operation 31
- Position and time programming 31
- A distress alert default contains 32
- A distress call should be transmitted if in the opinion of the master the ship or a person is in distress and requires im mediate assistance 32
- After receiving the acknowledgment push alarm off r then reply using the microphone 32
- After transmitting the call the transceiver waits for an ac e knowledgment call 32
- Confirm no distress call is being received q while lifting up the key cover hold down distress for 3 w seconds to transmit the distress call 32
- Distress call 32
- Dsc operation 32
- Never make a distress call if your ship or a person is not in an emergency a distress call should be made only when immediate help is needed 32
- New2001 32
- Simple call d 32
- 2 3 4 5 6 7 8 9 10 11 12 13 14 15 16 33
- D regular call 33
- Dsc operation 33
- E the distress call confirmation screen is displayed 33
- Enter distress call in the dsc menu q 33
- New2001 33
- R hold down distress for 3 seconds to transmit the dis tress call 33
- The nature of the distress call should be included in the dis tress call 33
- W select the nature of the distress using dial or y z then push dial or ent 33
- A distress alert contains 34
- D regular call continued t after transmitting the call the transceiver waits for an ac knowledgment call 34
- Dsc operation 34
- New2001 34
- Y after receiving an acknowledgment call push alarm off then reply using the microphone 34
- 2 3 4 5 6 7 8 9 10 11 12 13 14 15 16 35
- Dsc operation 35
- New2001 35
- Push chg then edit your latitude and longitude posi tion and utc time 35
- When no gps receiver is connected and both position and time have been manually programmed the screen as shown below appears edit your latitude and longitude position and utc time as follows 35
- D distress cancel call 36
- Dsc operation 36
- 2 3 4 5 6 7 8 9 10 11 12 13 14 15 16 37
- Chapter continued 37
- Transmitting an individual call d 37
- Transmitting dsc calls 37
- Dsc operation 38
- 2 3 4 5 6 7 8 9 10 11 12 13 14 15 16 39
- Chapter continued 39
- Dsc operation 40
- New2001 40
- Push ack w 40
- Quick ack when an individual call is received alarm sounds and the q screen below is displayed push alarm off to stop the alarm 40
- Select one of three options then push ent select one of three options then push ent e 40
- Transmitting an individual acknowledgement d 40
- When receiving an individual call you can transmit an ac knowledgement able to comply propose new channel or unable to comply by using the on screen prompts quick ack also you can send an acknowledgement through the menu system man ual ack 40
- 2 3 4 5 6 7 8 9 10 11 12 13 14 15 16 41
- Chapter continued 41
- About manual inputting enter a desired group id in the following way 42
- Dsc operation 42
- E select a desired intership channel using dial or y ch z ch then push ent 42
- Enter group call in the dsc calls menu q 42
- New2001 42
- Select the desired pre programmed group address or w manual input using dial or y z then push ent 42
- The group call function allows you to transmit a dsc signal to only a specific group 42
- Transmitting a group call d 42
- 2 3 4 5 6 7 8 9 10 11 12 13 14 15 16 43
- Dsc operation 43
- Dsc operation 44
- Transmitting an all ships call d 44
- About manual inputting enter a desired individual id in the following way 46
- D transmitting a position request call 46
- Dsc operation 46
- E a confirmation screen is displayed 46
- Enter position request in the dsc calls menu q 46
- New2001 46
- Select the desired pre programmed individual address or w manual input using dial or y z then push ent 46
- Transmit a position request call when you want to know a specific ship s current position etc 46
- 2 3 4 5 6 7 8 9 10 11 12 13 14 15 16 47
- Dsc operation 47
- A confirmation screen is displayed e 48
- About manual inputting enter a desired individual id in the following way 48
- D transmitting a position report call 48
- Dsc operation 48
- Enter position report in the dsc calls menu q 48
- New2001 48
- Select the desired pre programmed individual address or w manual input using dial or y z then push ent 48
- Transmit a position report call when you want to announce your own position to a specific ship 48
- 2 3 4 5 6 7 8 9 10 11 12 13 14 15 16 49
- After the position report call has been transmitted the t transceiver automatically returns to the normal operating mode 49
- Dsc operation 49
- New2001 49
- Push call to transmit the position report call r 49
- Push chg then edit your latitude and longitude position and utc time 49
- When no gps receiver is connected and both position and time have been manually programmed the screen shown below is displayed edit your latitude and longitude position and utc time as follows 49
- A confirmation screen is displayed e 50
- About manual inputting enter a desired individual id in the following way 50
- Dsc operation 50
- Enter polling request in the dsc calls menu q 50
- New2001 50
- Select the desired pre programmed individual address or w manual input using dial or y z then push ent 50
- Transmit a polling request call when you want to know a specific vessel is in the communication area or not 50
- Transmitting a polling request call d 50
- 2 3 4 5 6 7 8 9 10 11 12 13 14 15 16 51
- Dsc operation 51
- About manual inputting enter a desired address id in the following way 52
- D transmitting a test call 52
- Dsc operation 52
- E a confirmation screen is displayed 52
- Enter test call in the dsc calls menu q 52
- New2001 new2001 52
- Select a desired pre programmed individual address or w manual input then push dial or ent 52
- Testing on the exclusive dsc distress and safety calling chan nels should be avoided as much as possible when testing on a distress safety channel is unavoidable you should indicate that these are test transmissions normally the test call would require no further communica tions between the two stations involved 52
- 2 3 4 5 6 7 8 9 10 11 12 13 14 15 16 53
- Dsc operation 53
- D transmitting a test acknowledgement call 54
- Dsc operation 54
- 2 3 4 5 6 7 8 9 10 11 12 13 14 15 16 55
- Dsc operation 55
- Dsc operation 56
- Transmitting a position reply call d 56
- 2 3 4 5 6 7 8 9 10 11 12 13 14 15 16 57
- Dsc operation 57
- E the position reply call confirmation screen is displayed push call to transmit the acknowledgement call 57
- Manual reply enter position reply in the dsc calls menu q 57
- New2001 57
- Push chg then edit your latitude and longitude position and utc time 57
- R while transmitting the reply call the screen shown below is displayed and then returns to the normal operating mode 57
- Select a desired position request call to reply to using w dial or y z then push ent 57
- When no gps receiver is connected and both position and time have been manually programmed the screen shown below is displayed edit your latitude and longitude position and utc time as follows 57
- D transmitting a position report reply call 58
- Dsc operation 58
- 2 3 4 5 6 7 8 9 10 11 12 13 14 15 16 59
- Dsc operation 59
- Dsc operation 60
- Transmitting a polling reply call d 60
- 2 3 4 5 6 7 8 9 10 11 12 13 14 15 16 61
- Dsc operation 61
- Dsc operation 62
- Receiving a distress call d 62
- Receiving dsc calls 62
- 2 3 4 5 6 7 8 9 10 11 12 13 14 15 16 63
- D receiving a distress acknowledgement 63
- Dsc operation 63
- Dsc operation 64
- Receiving d a distress relay call 64
- 2 3 4 5 6 7 8 9 10 11 12 13 14 15 16 65
- D receiving a distress relay acknowledgement 65
- Dsc operation 65
- Dsc operation 66
- Receiving an individual call d 66
- 2 3 4 5 6 7 8 9 10 11 12 13 14 15 16 67
- Dsc operation 67
- Receiving a group call d 67
- Dsc operation 68
- Receiving an all ships call d 68
- 2 3 4 5 6 7 8 9 10 11 12 13 14 15 16 69
- Dsc operation 69
- Receiving a geographical area call d 69
- Dsc operation 70
- Receiving a position request call d 70
- 2 3 4 5 6 7 8 9 10 11 12 13 14 15 16 71
- Dsc operation 71
- Receiving a position report call d 71
- D receiving a polling request call 72
- Dsc operation 72
- 2 3 4 5 6 7 8 9 10 11 12 13 14 15 16 73
- D receiving a test call 73
- Dsc operation 73
- D receiving a test acknowledgement call 74
- Distress message d 74
- Dsc operation 74
- Exit exit push to return to the nor mal operating mode 74
- Push the softkey log to enter rcvd call log in the q dsc calls menu or you can enter it through the menu screen 74
- Push w y z to select distress then push ent 74
- Q push alarm off to stop the alarm and the blinking backlight 74
- Received call log 74
- The transceiver automatically stores up to 50 distress mes sages and 50 other messages and they can be used as a supplement to your logbook 74
- W push a softkey to select your desired action 74
- When a test acknowledgement call is received the alarm sounds for 2 minutes received ack is displayed the lcd backlight blinks for 2 minutes 74
- 2 3 4 5 6 7 8 9 10 11 12 13 14 15 16 75
- D other messages 75
- Dsc operation 75
- Dsc operation 76
- Transmitted call log 76
- 2 3 4 5 6 7 8 9 10 11 12 13 14 15 16 77
- D add individual id group i 77
- D automatic acknowledgement 77
- D delete individual id group i 77
- D position inpu 77
- Dsc operation 77
- Dsc settings 77
- D channel 16 switch function 78
- Dsc operation 78
- 2 3 4 5 6 7 8 9 10 11 12 13 14 15 16 79
- D alarm status 79
- D dsc data output 79
- Dsc operation 79
- D channel 70 squelch level 80
- D dsc loop test 80
- Dsc operation 80
- 2 3 4 5 6 7 8 9 10 11 12 13 14 15 16 81
- Dsc operation 81
- Making an individual call using an ais transponder 81
- Dsc operation 82
- 2 3 4 5 6 7 8 9 10 11 12 13 14 15 16 83
- Intercom operation 83
- Other functions 83
- Hailer operation 84
- Other functions 84
- Rx hailer function 84
- 2 3 4 5 6 7 8 9 10 11 12 13 14 15 16 85
- D automatic foghorn function 85
- Horn function 85
- Other functions 85
- Adjust the foghorn level 86
- Auto foghor 86
- D manual horn function 86
- E push exit to return to the normal operating screen 86
- E rotate dial o 86
- Manual hor 86
- New2001 86
- Other functions 86
- Q enter auto foghorn in the horn menu 86
- Q enter manual horn in the horn menu 86
- R push menu to exit the menu screen 86
- Select the desired foghorn pat tern and then push ent 86
- T to return to normal operation select off in the auto fog horn menu 86
- W hold down horn to sound a horn 86
- W rotate dial o 86
- While in the horn mode the transmit and receive functions are disabled when the transceiver is transmitting the horn function is disabled 86
- Y z ω 86
- 2 3 4 5 6 7 8 9 10 11 12 13 14 15 16 87
- D playback the recorded voice 87
- D programming scrambler codes 87
- Other functions 87
- Voice recorder function 87
- Voice scrambler operation 87
- About ais 88
- Ais classes 88
- Ais receiver 88
- Depending on versions 88
- 11 12 13 14 15 16 89
- Ais receiver depending on versions 89
- D plotter screen 89
- Function display 89
- Ais receiver depending on versions 90
- To select display range 90
- 2 3 4 5 6 7 8 9 10 11 12 13 14 15 16 91
- Ais receiver depending on versions 91
- D danger list screen 91
- D target list screen 91
- In the plotter screen push disp to switch to the target list screen which shows all ais targets being detected by the transponder the ais target data is sorted by the distance from your ves sel and the closest target is located on the top of the list 91
- In the target list display push disp to switch to the dan ger list screen which helps you to find any dangerous target whose cpa is within 6 nm nautical miles and tcpa is within 60 minutes of your vessel 91
- New2001 91
- Q the number of dangerous targets shows the number of ais targets which are being detected by the transceiver 91
- Q the number of targets shows the number of ais targets which are being detected by the transceiver 91
- W danger target information shows the following dangerous target information 91
- W target information shows the following ais target information 91
- About the detail screen 92
- Ais receiver depending on versions 92
- D content lists of class a vessels detail screens 92
- 2 3 4 5 6 7 8 9 10 11 12 13 14 15 16 93
- Ais receiver depending on versions 93
- D content lists of aton targets detail screens 93
- D content lists of base station targets de tail screens 93
- D content lists of class b vessels detail screens 93
- D content lists of sar targets detail screens 93
- Ais receiver depending on versions 94
- D content lists of ais sart targets detail screens 94
- D content lists of mob targets detail screens 94
- 2 3 4 5 6 7 8 9 10 11 12 13 14 15 16 95
- Ais receiver depending on versions 95
- D ais combo screen 95
- D content lists of epirb ais targets detail screens 95
- Ais receiver depending on versions 96
- Ais settings 96
- D cpa tcpa 96
- D north up cog up 96
- 2 3 4 5 6 7 8 9 10 11 12 13 14 15 16 97
- Ais receiver depending on versions 97
- Depending on versions 98
- Description 98
- Nmea 2000 connection 98
- 2 3 4 5 6 7 8 9 10 11 12 13 14 15 16 99
- D compatible pgn list 99
- Nmea 2000 connection depending on versions 99
- Receive transmit 99
- Entering the menu screen and operation 100
- Menu screen operation 100
- 2 3 4 5 6 7 8 9 10 11 12 13 14 15 16 101
- D config configuration 101
- D mmsi gps 101
- D radio set 101
- Dsc set d 101
- Menu screen items 101
- Menu screen operation 101
- Configuration items 102
- D backlight 102
- D display contrast 102
- D key beep 102
- Menu screen operation 102
- 2 3 4 5 6 7 8 9 10 11 12 13 14 15 16 103
- D key assignment 103
- D key movement 103
- Menu screen operation 103
- D horn frequency 104
- D inactivity timer 104
- Menu screen operation 104
- Utc offset d 104
- 2 3 4 5 6 7 8 9 10 11 12 13 14 15 16 105
- Commandmic speaker d 105
- D unit id 105
- Menu screen operation 105
- D channel group 106
- D scan timer 106
- D scan type 106
- Dual tri watch d 106
- Menu screen operation 106
- Radio settings items 106
- 2 3 4 5 6 7 8 9 10 11 12 13 14 15 16 107
- Available when the scrambler unit is installed 107
- D call chan call channel 107
- D voice scrambler 107
- D wx alart weather alert 107
- Menu screen operation 107
- D noise cancel 108
- Menu screen operation 108
- Connections 110
- Connections and maintenance 110
- 2 3 4 5 6 7 8 9 10 11 12 13 14 15 16 111
- Connections and maintenance 111
- D connect to the ma 500tr 111
- Antenna 112
- Cleaning 112
- Connections and maintenance 112
- Fuse replacement 112
- Supplied accessories 112
- 2 3 4 5 6 7 8 9 10 11 12 13 14 15 16 113
- Connections and maintenance 113
- D using the supplied mounting bracket 113
- Mounting the transceiver 113
- Connections and maintenance 114
- D mb 75 installation 114
- Mb 75 mb 132 installation 114
- Connections and maintenance 116
- Installation d 116
- Microphone installation 116
- General d 118
- Receiver d 118
- Specifications 118
- Specifications and options 118
- Transmitter d 118
- 2 3 4 5 6 7 8 9 10 11 12 13 14 15 16 119
- D dimensions 119
- Options 119
- Specifications and options 119
- Channel list 120
- Dsc operation only 120
- Low power only 120
- Momentary high power 120
- New2001 120
- Note simplex channels 3 21 23 61 64 81 82 and 83 cannot be lawfully used by the general public in u s a waters 120
- 2 3 4 5 6 7 8 9 10 11 12 13 14 15 16 121
- Hm 195 121
- Mb 75 mb 132 121
- Template 121
- 2 3 4 5 6 7 8 9 10 11 12 13 14 15 16 123
- Troubleshooting 123
- 1 32 kamiminami hirano ku osaka 547 0003 japan 124
Похожие устройства
- Эван ЭПО -60 Инструкция по эксплуатации
- Asus CM6870 RU003O Инструкция по эксплуатации
- Icom IC-M412 Инструкция по эксплуатации
- Эван ЭПО -72 Инструкция по эксплуатации
- HP Pavilion h8-1302er Инструкция по эксплуатации
- Icom IC-M422 Инструкция по эксплуатации
- Эван ЭПО -84 Инструкция по эксплуатации
- HP Pavilion h9-1200er Инструкция по эксплуатации
- Icom IC-M424 Инструкция по эксплуатации
- Эван ЭПО -96 Инструкция по эксплуатации
- HP Pavilion h9-1201er Инструкция по эксплуатации
- Icom IC-M504 Инструкция по эксплуатации
- Эван ЭПО -108 Инструкция по эксплуатации
- Kraftway i53450/6/GTX550Ti Инструкция по эксплуатации
- Icom IC-M504A Инструкция по эксплуатации
- Эван C7.5 Инструкция по эксплуатации
- Iiyama ProLite PLT2250MTS-B1 Инструкция по эксплуатации
- Icom IC-M604 Инструкция по эксплуатации
- Эван C9 Инструкция по эксплуатации
- Samsung S23B350H Инструкция по эксплуатации
Скачать
Случайные обсуждения